
Applying Epoxy
You’ve got your garage all cleaned up and your tools neatly put in their places. Everything looks organized and pleasing to the eye except that old concrete slab your beloved car sits on. The process is lacking one last thing, a brand new Jam Epoxy Floor which will transform the way your garage looks. On top of that you will never have to worry about oil stains or chips because Jam Epoxy Flooring is completely resistant to liquids and oils wipe off with ease. Your floor will look great and will be stronger and more protected than ever before. But before you can start on your epoxy installation, there are a few quick preparation steps you should follow.
Please read the Preparing The Surface guide first before installing epoxy
For a printable guide, download our free PDF.
Prep-Steps
- Assemble the roller for the epoxy flooring application, securing the roller handle/extension, roller frame, and roller cover. Then place the roller aside as it will be used early in the installation process.
- After assembling the roller and placing it aside, insert the mechanical mixer/paddle bit into your power drill.
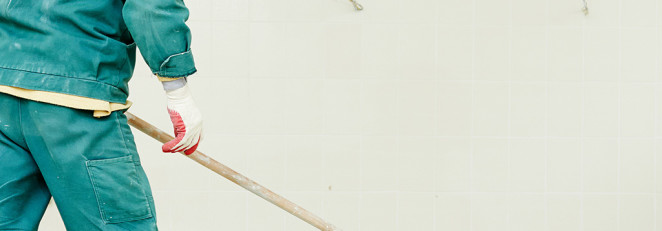
- If there are areas which you do not wish to coat, tape them off to prevent coating.
So you’ve taken all the preparatory steps. Your garage is clean and your floor is etched. You’re excited to get going on your new epoxy floor and your garage is excited with you. If your garage could speak it would be yelling like a kid on Christmas morning. It is time to unwrap your Jam Epoxy Kit and let the joy of home improvement soak into your garage floor.
Here is what you will need to install epoxy yourself:
- Epoxy Kit
- Single Installation Kit (or purchase the items separately)
- Spiked Shoes to walk in the wet epoxy floor when installing
Epoxy Flooring Application
- Open the “Part A” 5 gallon pail lid and remove the “Part B” (gallon can) found inside from the plastic cradle.
- Remove the plastic cradle from the 5 gallon pail lid.
- Premix both “Part A” (contents in 5 gallon pail) and “Part B” (contents in gallon can). Use the mechanical mixer/paddle bit to pre-mix the contents of “Part A” (contents in 5 gallon pail). Pre-mix the contents in “Part B” (contents in gallon can) with a paint stir stick.
- Once you have completed the pre-mix, pour the entire contents of “Part B” (contents in gallon can) into the contents of “Part A” (5 gallon pail).
- Using the mechanical mixer, mix both contents A & B together for 2 minutes. **IMPORTANT: Mix thoroughly for proper cure.**
- Pick up bucket, holding it firmly with one hand on the bottom of the bucket and the other hand on the handle.
- Pour ENTIRE contents into a uniform bead on the floor, pouring in a straight line while making certain that the width of the epoxy poured out spreads approximately 12 to 14 inches on the garage floor. Move quickly when pouring the epoxy line onto the floor, working from the far left side of the garage to the far right side of the garage. **NOTE: IF THE PRODUCT SITS IN THE BUCKET IT WILL BEGIN TO HARDEN IMMEDIATELY. TO PREVENT THIS, EPOXY SHOULD NOT BE LEFT IN THE PAIL AT ANY MOMENT.
- If using squeegee, pull epoxy around the floor evenly starting on the far left side working your way to the far right side. Use the roller to back roll once you have the epoxy spread. Spike shoes must be worn to walk around the epoxy while wet.
- After the epoxy has been spread into an even coating, apply fleck chips by tossing them underhand, making sure your toss is even and thorough over the coated areas.
IMPORTANT: Allow your new Jam Epoxy floor to cure at least 24 hours before moving any vehicles or heavy equipment back in.
And just like that you’re done! You’ve made your garage floor look like a car showroom. Oddly your car looks fancier and your neighbors just became a little jealous of your new Jam Epoxy Floor.